Pages

Wednesday, December 31, 2014

Holiday Sweets, Part 2: Peanut Butter Blossoms

I may have mentioned this before, but peanut butter and chocolate may be my favorite flavor combination.  I love Reese's, these peanut butter and chocolate chip bars are one of my favorite baked goodies, but these peanut butter blossoms are a holiday staple.

The original recipe said it yields about 60...I consistently get about 45 each time.  There are a ton of variations of this recipe, but this one is my favorite.  Also, this has fewer ingredients than others, and (as I found out this time) is really easy to make the dough with a quality mixer.

(Side note: For Christmas, Santa brought me a fire-engine red KitchenAid Stand Mixer.  This was the first recipe I made with the mixer.  Stay tuned for an all-about-the-KitchenAid-mixer post...coming soon!)


Ingredients

1 cup creamy peanut butter
1 can (14 oz) condensed milk
2 cups biscuit mix
1 tsp vanilla extract
1/2 granulated sugar
45-50 unwrapped Hershey's Kisses

1. Preheat oven to 375 degrees.

2. Combine peanut butter and condensed milk.  Mix well until creamy and smooth.


3. Add biscuit mix and vanilla extract.  Mix.  Combine throughly until dough is no longer crumbly.


4. Roll dough into 1 inch balls.  Cover in sugar, and then place on ungreased baking pan, about 1 inch apart.


5. Bake 6-8 minutes at 375 degrees until they are a light golden color.  (I usually check them around six minutes)

6. Immediately after removing the cookies from the oven, press one Hershey's Kiss into the center of each to create a blossom.  Allow to cool so that the chocolate sets.

Saturday, December 27, 2014

Holiday Sweets, Part 1: Cashew Bark

One of my friends asked me about my blog recently, hoping to check it out and try some new recipes.  When I gave her the web address, I immediately felt guilty because I haven't updated since April. APRIL!  It's DECEMBER now!  I promise I've been trying new recipes and cooking (and taking pictures, too), but being a doctoral student sometimes means that "fun" writing gets put on the back burner.
I have this massive backlog of recipes that I need to post, but because it's still the holiday season, I think some baked goodies are in order.  I've made a lot of different sweets over the last few weeks, but my new favorite is the Cashew Bark.

The Cashew Bark has a lot of different names: cashew crack, cashew crackle, chocolate toffee, cashew chocolate toffee...but they're all basically the same.  So, I hope you enjoy my new favorite holiday sweet!

Ingredients
40-60 saltine crackers (you can also use 4-5 matzo)
3/4 cup salted butter
1.5 cups dark brown sugar
1/2 tsp vanilla extract
1 bag semi-sweet chocolate chips (12 oz)
1 cup roughly crushed/chopped cashews (Full disclosure: I felt like I wanted it nuttier, so I wound up using about a cup and a half; also, it's just easier if you start off with the halves and pieces instead of the whole cashews)

1. Preheat the oven to 350 degrees.

2. Cover the bottom of a large baking sheet with a layer of crackers (or matzo).  Set to the side.


3. For the toffee mixture, combine butter, brown sugar, and vanilla extract in a saucepan over medium heat.  Bring to a gentle boil for no longer than 2 minutes.  Stir constantly.  The mixture should be thick and syrupy.

4. Once thickened, pour toffee mixture over crackers immediately; the mixture will begin to get hard pretty quickly.  Spread evenly.  (Note: I used a rubber spatula to help spread)

5. Bake in the oven at 350 degrees for 5 minutes.

6. Remove the baking sheet from the oven and allow to cool for about 5 minutes.  Then, sprinkle the chocolate chips on top of the toffee mixture.


7. Place baking sheet back in the oven at 350 degrees for one minute.

8. After one minute in the oven, remove the baking sheet.  Use a rubber spatula to spread the softened chocolate evenly across the toffee mixture.

9. Allow to cool for about 3 minutes before sprinkling the roughly chopped cashews on top.


10. Place in the refrigerator for about 2 hours (or until the chocolate is set).  Use a spatula to break the bark into pieces.


Variations: I like cashews, but you can substitute any kind of nut: walnuts, peanuts, macadamia.  You can also add any other kinds of toppings, like crushed peppermint, or candy cane, or even sprinkles.

Friday, April 18, 2014

Gazpacho!


The weather is starting to warm up (at least, some days, it is)!  It's been a crazy winter and I've spent a lot of time slurping soup.  But no one wants to eat soup on a warm spring or summer day.  Those are the days I tend to go for something light and cool...something like gazpacho.

Gazpacho is a tomato-based vegetable soup that is typically served chilled.  Gazpacho is typically a Spanish dish, originating in the Andalusia region of Spain.  I love gazpacho because it's a cool and refreshing (yet filling) dish, but also because it is full of vegetables...which makes it very colorful and pretty!  So, as the weather starts to (hopefully soon) turn towards summer, cool off with this chilled soup.


Ingredients

  • 6 tomatoes, diced (I used Roma tomatoes
  • 1 cucumber, seeded and diced
  • 1 zucchini, diced
  • 2 sticks celery, chopped
  • 2 cloves garlic, minced
  • 1/2 red onion, diced
  • 5 cups tomato juice
  • 1/4 cup olive oil
  • 1/8 cup vinegar (red or white wine)
  • 1/8 cup lime juice (or 2 fresh squeezed limes)
  • 1.5 tablespoons sugar (I actually used Truvia...I would bump this up to 2 tbsp if using regular white sugar)
  • Tabasco sauce (I'm not a fan of spice, so I used only a few shakes...but use more to suit your taste buds)
  • Salt and pepper to taste
  • Avocado, sliced (optional...I used it for garnish)

1. Dice, chop, and mince the tomatoes, cucumber, zucchini, celery, garlic, and onion. Set aside some of the raw vegetables for a garnish later.


2. In a food processor or blender, add half of the tomatoes, cucumber, zucchini, garlic, onion, tomato juice, olive oil, vinegar, lime juice, sugar, Tabasco sauce, salt, and pepper.  Pulse until all of the ingredients are well blended.  Add the remaining portions to the food processor or blender, and mix until all of the ingredients evenly mixed.


3.  Pour mixture into a large bowl and stir.  Check seasonings and adjust if necessary.

4.  Cover bowl and refrigerate for at least 2 hours before serving.

5.  When serving, garnish with the avocado and the vegetables set aside in step 1.


Serving suggestion: I paired my gazpacho with a whole wheat cheese quesadilla

Thursday, March 13, 2014

Eggplant Parmigiana

As a way to switch up my eating habits lately, I've been incorporating more vegetarian options into my routine.  I have several friends in my life who are vegetarian or vegan, and they've assured me that limiting meat in my diet will not be as challenging as I anticipate.  So far, I have pretty much cut out red meat completely.  I had a craving for a burger the other day, and I substituted the beef for a vegetable burger.  In the last few weeks, I found my body craving meat less.  I still crave the protein, but opting more for beans or eggs or...gasp...tofu.  Yes, my loyal followers, I have tried tofu.

The other day, I wanted something that tastes like home...something like grandma's cooking.  Chicken parmigiana!  But wait!  I substituted the chicken for some eggplant.  Guess what?  Still delicious.  (Although, the chicken parmigiana is still my favorite...)

Ingredients
1 eggplant, large, uncooked (mine was about 1lb)
1/2 cup egg whites
Flour
1 cup plain breadcrumbs
1 cup Pecorino Romano cheese, grated (divided)
Oregano
Salt
Pepper
1.5 cups fat-free mozzarella, shredded
About 2 cups tomato sauce (you could use store-bought tomato sauce, in a jar...or you could pre-make my tomato sauce recipe, found here!)

1.  Slice the eggplant, about 1/4 to 1/3 inch in width.

2.  In one bowl, mix flour, salt, oregano, and pepper.  In a second bowl, add the egg whites.  In a third bowl, mix the bread crumbs and half of the grated cheese.


3.  Prepare a baking 13 x 9 baking sheet with non-stick cooking spray.  Pre-heat the oven to 425 degrees.

4.  One by one, dip the pieces of eggplant first into the flour, then the egg, then the bread crumb mixture.  Place them on to the baking sheet, evenly spaced apart.  Spray lightly with the non-stick cooking spray, and bake in the oven for 10 minutes at 425.  After 10 minutes, flip the eggplant slices over and bake for another 10 minutes.  Then, set aside to cool slightly.


5.  Add a layer of tomato sauce to a casserole dish (or a baking pan, whichever you prefer).  Layer the slices of eggplant on top of the sauce.  Top with half of the remaining sauce.  Sprinkle the remaining grated cheese as well as the mozzarella on top of the eggplant.  Bake on 425 degrees for about 13-15 minutes (or until the cheese is melted). 


Don't forget to cook your pasta, too!


Yields about 3 servings total
Points Plus value: 5 (add another 5 points for 2 oz of pasta)

Sunday, January 19, 2014

Vegetable Soup

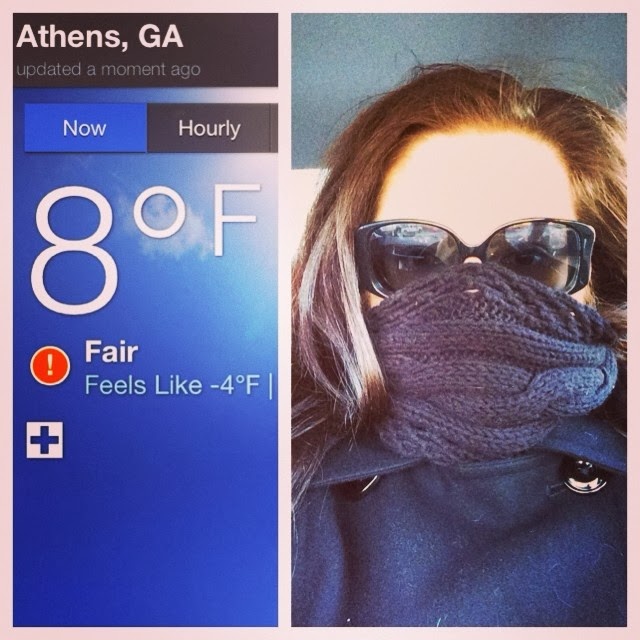
I realize that when writing about the cold weather, I should qualify this and say that I've lived most of my life in South Florida.  You know, Florida...where people bust out the coats and scarves and boots when it hits 60 degrees.  So for the temperature to plummet to single digits (with a wind chill factor below zero), well...it felt absolutely inconceivable to me.  I'll be honest; I didn't think Georgia had that level of cold in her. 

It was a new experience scrapping frost off the windshield, using the heat in my apartment (and subsequently, skyrocketing my electric bill), driving on icy roads, and literally wrapping my face with a scarf to keep it warm.  Seriously. Here's the proof. 

So what do you do when the weather dips to a chilly 8ยบ?  Wrap yourself up really warm, make sure your cat has his favorite blanket, and make some soup! 

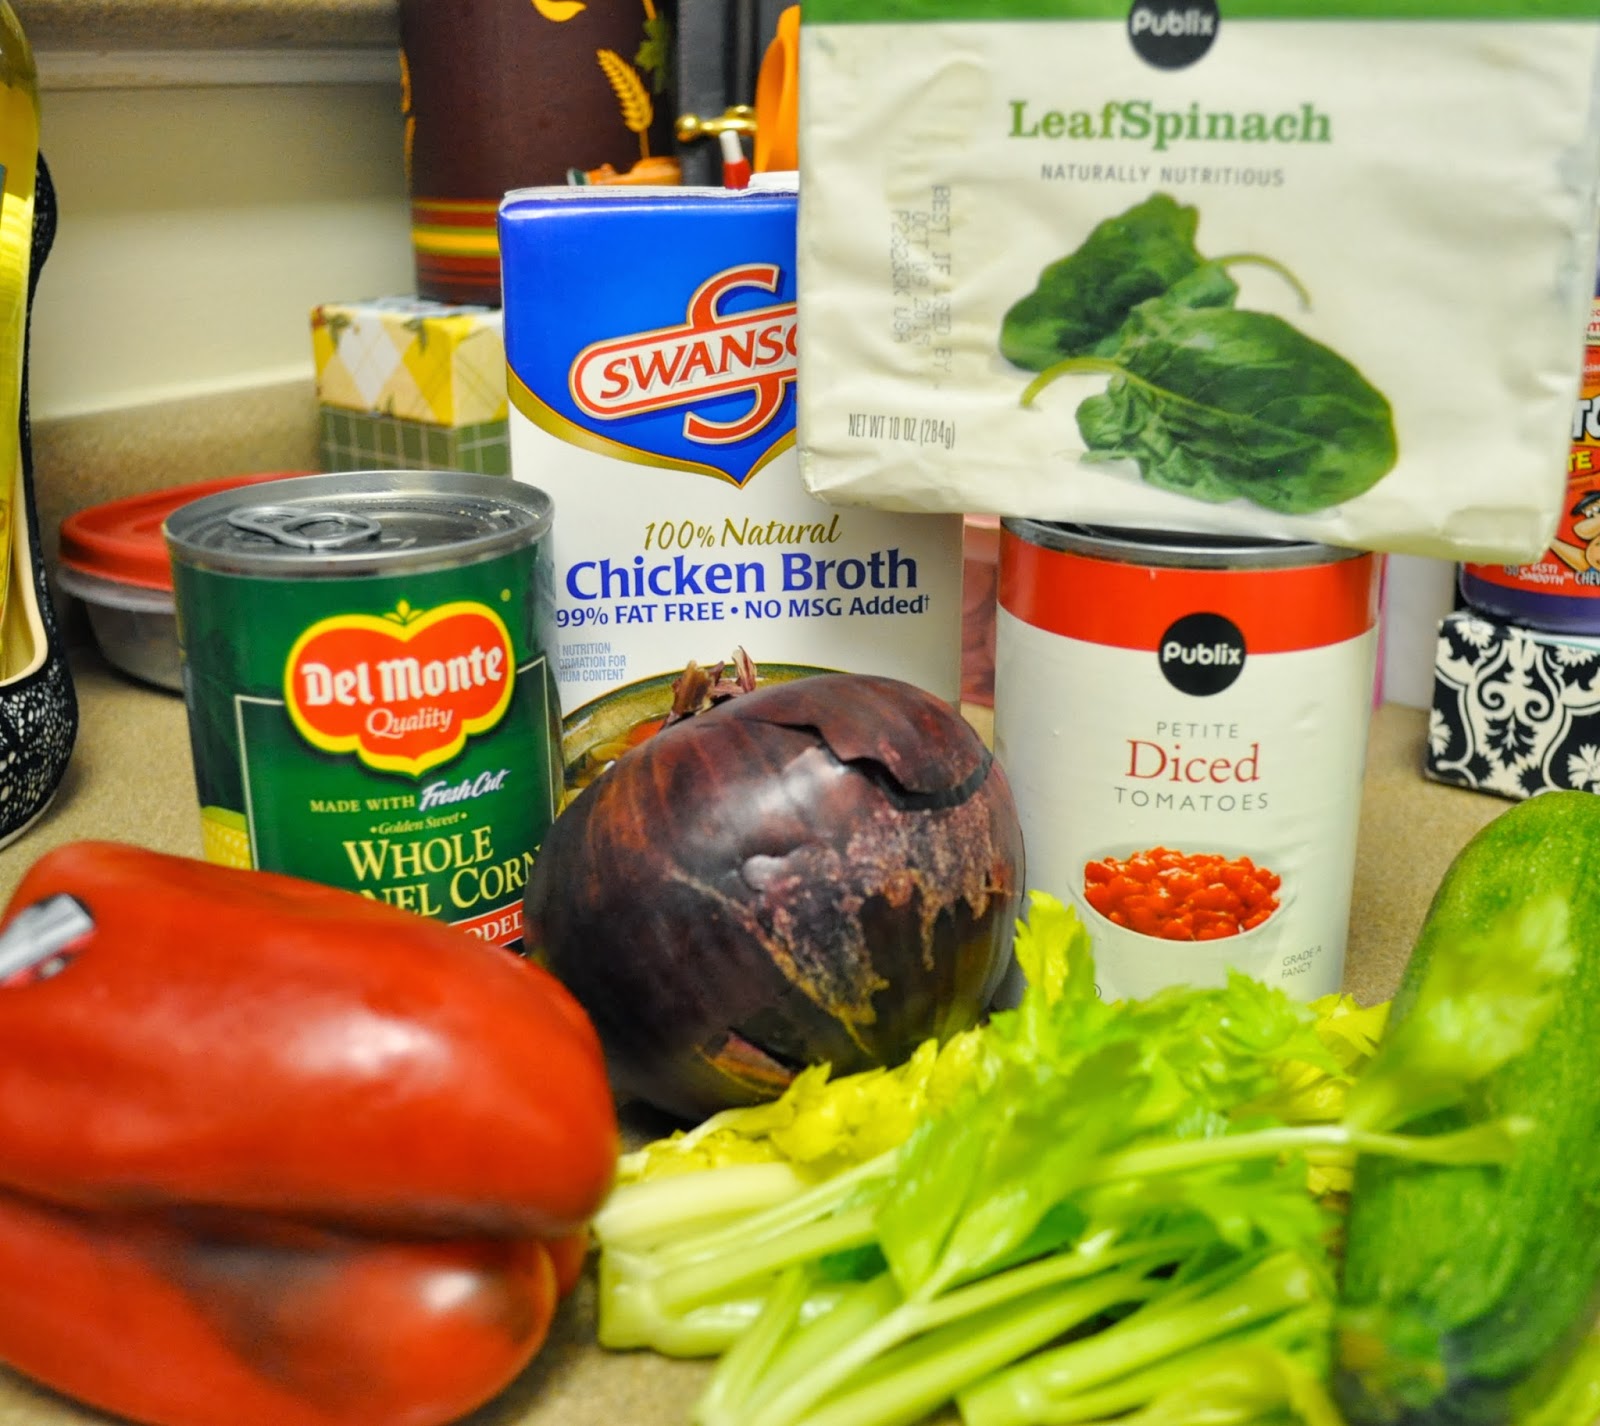
The great thing about this recipe is that you can literally add anything you want into it.  Initially, I used zucchini, peppers, onion, diced tomato...but the second time, I added cannellini beans, yellow squash, and mushroom.  Also, choose a different flavor broth for different tastes...beef gives it a heartier flavor, but vegetable broth complements the other ingredients  Chicken broth is even a perfectly viable candidate, as well. 

After I made the base of the soup, I added something different each day I had it.  Day one, I added some crumbed turkey sausage.  Day 2, some pasta.  Another day, I added some shredded chicken breast.  Make it your own.  I love recipes like this!  And the best part...it's so easy to make!

Ingredients
Ingredients from one time...

2 tbsp olive oil
6 cups broth (vegetable, chicken, or beef...depending on your preference)
1 diced pepper
1 diced zucchini
1/2 cup chopped onion
1 package of celery (leafy parts, only)
1/2 cup corn
1 package of frozen spinach, thawed and drained
1/2 cup mushrooms, chopped
Oregano, rosemary, basil, and thyme (to taste)
Salt & pepper

Ingredients from a second time
1. Heat olive oil in a large soup pot on medium.  When warm, saute onion.  Add garlic. 

2. Add all other ingredients.  Bring to a rapid boil.  Lower heat, and simmer for 20 minutes.

From the first batch
From the second batch
Depending on what you add, this soup is either 1 WW point/serving...or 0! 
You can also add pasta or meats (sausage, chicken, etc).  Adjust points accordingly.