Pages

Sunday, March 17, 2013

Red Velvet Cheesecake...and Cupcakes...and Bars


The first time I had red velvet cake, I was in graduate school. I lived in Georgia, and it was some amazing cake.  Out of respect for some of the unparalleled red velvet I've had over the years, I've never attempted to make it, though.

One of my favorite desserts is cheesecake.  This recipe combines the red velvet and the cheesecake. There are some pretty nifty things that you can make...that are relatively not fattening. This recipe (and it's accompanying variations) is one of them. I figured I could give it a shot, since it's not completely red velvet :)


Red Velvet Cheesecake Cupcakes

Ingredients

1 box Red Velvet cake mix
1.25 cups container vanilla-flavored Greek yogurt
1 large egg
1 cup water
8 oz reduced fat cream cheese
1/4 cup light sour cream
2 large egg whites
1/4 cup sugar
1 tbsp flour
1 tsp vanilla extract

1. Preheat oven to 350 degrees. Prepare the cupcake tin with liners and set aside.

2. In a large mixing bowl, beat cake mix, 1 cup vanilla Greek yogurt, egg, and water on medium speed until well combined. Set aside.


3. In a medium mixing bowl, beat cream cheese, 1/4 cup vanilla Greek yogurt, sour cream,e gg whites, sugar, flour, and vanilla extract on a low setting until well blended.


4. Add the cake mix to the cupcake liners, about 1/2 full.


5. Add an ice cream scoop of cheesecake mixture on top of the red velvet. Use a fork to swirl the mixtures together.


6. Bake for 20-25 minutes until the cheesecake is set. Remove from oven and let cool. Refrigerate for a minimum of 1 hour before serving. 

Yields about 24 servings (1 cupcake per serving)
Approximate Points Plus Value: 4 per cupcake

Variations
For mini cheesecakes:
Preheat oven to 350 degrees. In several small ramekins, melt 1/2 tsp of butter. Top with graham cracker crumbs. Follow steps 2 and 3 for the cake mix and cheesecake mix.  Add the cheesecake mix to the ramekins, about 1/2 full. Add an ice cream scoop of the red velvet cake mix, and swirl with a spoon. Bake at 350 for about 30 minutes, or until cheesecake is set. Let cool for 1 hour before serving.


For bars:
Preheat oven to 350 degrees. Follow steps 2 and 3 for cake mix and cheesecake mix. In a coated 13x9 inch baking pan, pour about 3/4 of the red velvet mixture. Top with the cheesecake mix. Add the remaining red velvet mix, and swirl with a fork. 

Sunday, March 10, 2013

Lemon Chicken with Broccoli

The past three months have definitely been a personal food struggle. I find myself reverting back into bad habits...and then straightening up quickly...and then sliding back into the bad habits. I'm hoping that by returning to my blog, focusing more on my own cooking, I'll be able to get back on track 100%.

Today, we're going to talk about a really simple WW recipe I found: Lemon Chicken with Broccoli. Not only is this recipe is super easy...it's also versatile. I love a recipe that allows you to make it your own. For example: not a fan of broccoli? Substitute it for your favorite vegetable! (I made it a second time with mushrooms, and it had a very chicken francese-like taste)

Ingredients
2 tbsp all-purpose flour
1/2 tsp salt
1/4 tsp pepper
2 tsp olive oil
1 lb boneless, skinless chicken breast
1.5 cups fat-free, reduced-sodium chicken broth
2 tsp minced garlic
2.5 cups uncooked broccoli florets
Lemon zest (to taste)
2 tbsp chopped parsley
1 tbsp fresh lemon juice

1. Combine about 1.5 tbsp of flour, 1/4 tsp of salt, and pepper. Coat chicken in the mixture.

 2. Meanwhile, heat olive oil in a large skillet over medium-high heat. Once the oil is heated, add chicken and cook until both sides are golden brown (about 7 minutes).  Set chicken aside.


3. Pour 1 cup of broth and garlic in the same skillet. Bring the mixture to a boil over high heat, stirring occasionally. Add broccoli. Cover and cook over high heat for about 1 minute.
 
4. In a small bowl, mix remaining flour, broth, and salt. Add to the skillet and bring to a simmer over low heat.

5. Cover and cook until sauce is thickened. Stir in chicken and lemon zest. Heat thoroughly through.


6. Remove skillet from heat. Stir in parsley and lemon juice. Toss to coat.


Yields about 1 cup per serving (4 servings total)
Points Plus value: 4

I decided to serve this over 1 serving of orzo (2 oz. uncooked), which added about 5 points per serving.


Friday, December 14, 2012

Creamy Risotto with Butternut Squash

One thing that I try to do often is to cook with and eat seasonal vegetables and fruit. Cooler weather (relatively speaking, since I live in Florida) means produce like butternut squash. I've been in butternut squash mood lately: butternut squash ravioli, creamy butternut squash soup. But my favorite is my latest culinary adventure...creamy risotto with butternut squash.

I got this recipe from Weight Watchers Weekly, and it's a fantastic recipe. It was light and creamy, and the thyme gave it a great, rich flavor. So, buon appetit!

Ingredients
2 cups uncooked butternut squash
1/2 teaspoon olive oil
1/2 tablespoon nsalted butter
1 cup uncooked orzo
1.5 cups water
1 cup chicken broth
1 teaspoon thyme
2 tablespoons fat-free half-and-half
1/2 cup grated Parmesan cheese
Salt and pepper to taste

(I made a few substitutions in the recipe...instead of half-and-half, I used Lactaid and then a little bit of Greek yogurt. Instead of salted butter, I used margarine. Also, you can use fresh thyme for an even richer flavor.)

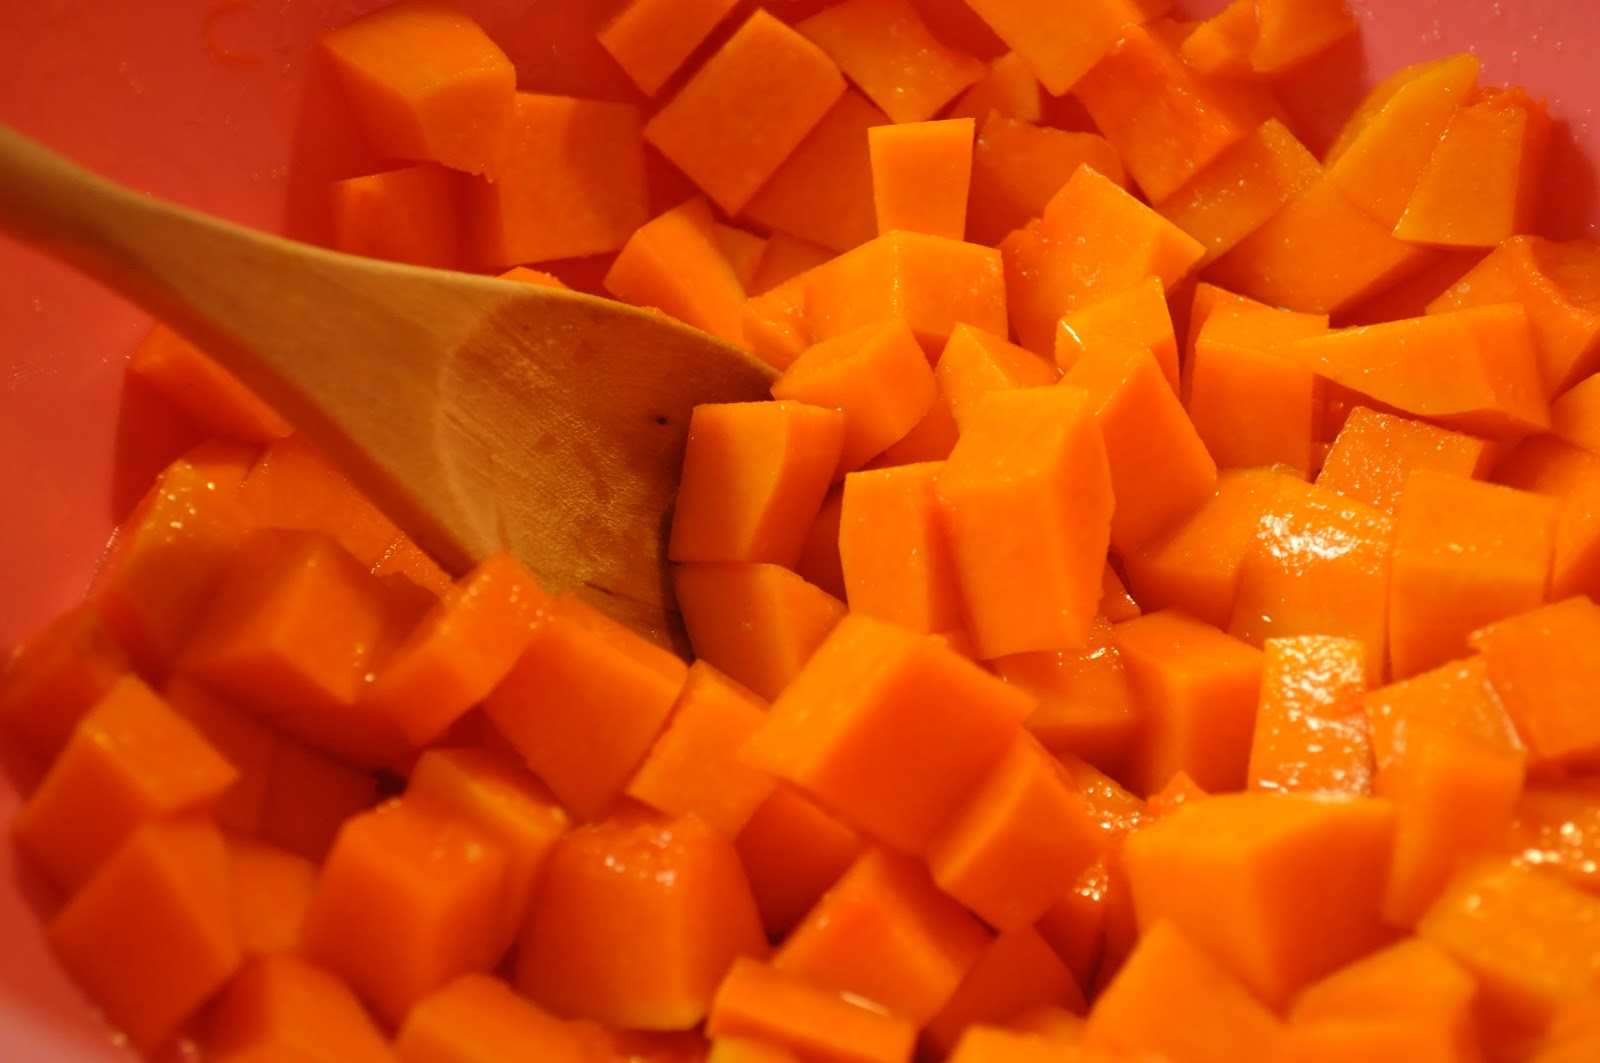
1. Peel the squash with a vegetable peeler, cut the squash in half, and scoop out the seeds. Then, cut the butternut squash into cubes. 


2. Toss the squash with the olive oil and salt until well coated. Place the squash on a baking tray lined with aluminum foil and prepared with vegetable spray. Roast squash until tender in an oven preheated to 425 degrees (about 20 to 25 minutes).


3. While squash is roasting, melt butter in a small saucepan over medium heat. Add orzo, and cook until orzo is browned.


4. Add water, chicken broth, and thyme. Bring to a boil. Reduce heat, then let simmer for 10 to 15 minutes (until liquid is mostly absorbed).


5. Stir in half-and-half, cheese, and squash. Add salt and pepper to taste.


Yields about 3/4 pieces per serving
Points Plus value: 6 per serving

Saturday, December 1, 2012

Classic Dutch Apple Pie

I am in love with how amazing this pie tasted...I hope you love it too!
What's Thanksgiving without a pie? And what's more American than apple pie?  This Thanksgiving was my first away from home and my family, but that just meant that I had the opportunity to cook up my own Thanksgiving feast...including the pie.

I was going to skimp corners here and there (stuffing...from a box!), but the pie, well...I wanted the pie to be made completely from scratch.  I had a wonderful sous chef; while I worked on the crust, my second prepped the filling.  If you're doing this solo, do the crust first, so the apples don't get all brown from oxidation.

This is easily one of the greatest things ever to emerge from my kitchen. We enjoyed every bit and crumb and morsel.  I'll do my best to give you the recipe, but you should know that this is one of those times where the recipe went out the window. I was kind of making it up as I went along. But I'll give it a shot.

(The numbers in the recipe refer to how I began...but it was definitely an evolving process)

For the Filling

Ingredients
7 apples
1 cup of sugar
1/4 cup brown sugar
2 tablespoons flour
1/4 butter, softened
1.5 tablespoons cinnamon
1/4 teaspoons. nutmeg
2 tablespoons milk

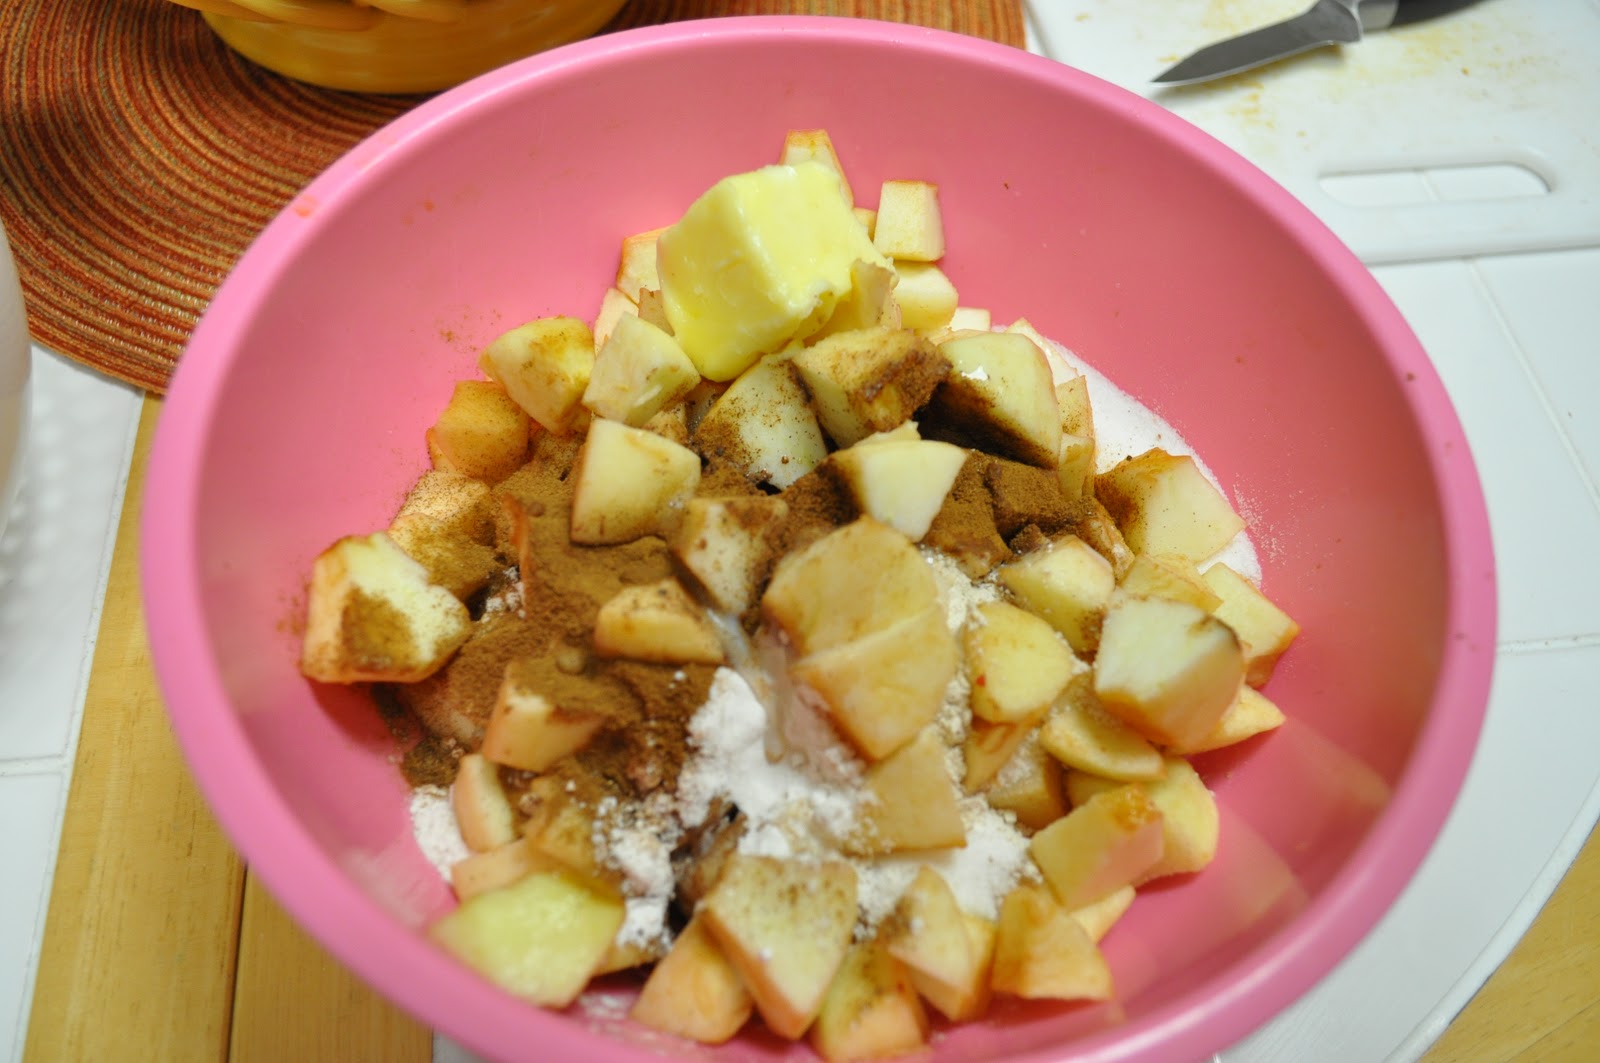
1. Peel, core, and cube the apples. Combine the apples with the remaining ingredients until well coated. At the last minute, we decided to add some dried cranberries.


For the Crust

Ingredients
White flour, all purpose
Wheat flour
Baking powder
Brown sugar
Almond extract
Salt
Butter


For the bottom part of the crust
1. Preheat the oven to 450 degrees.

2. With a fork, combine 1 cup of white flour, 1 cup of wheat flour, 1 cup of butter, 1 teaspoon salt, 1 teaspoon baking powder, and 1/2 cup brown sugar. Work the dough until there are pieces the size of peas.  Add water slowly (one teaspoon at a time), until the dough sticks together.  Then it is ready for rolling.


3. Spread flour on your rolling surface (I used my kitchen counter), and drop the dough onto the flour. Use a rolling pin to roll the dough.

 4. When it is flattened to about a 1/2 inch, it is ready to be placed in a prepared pie baking pan. (It wasn't pretty, but once it's filled, you can't tell!)


For the top Dutch crumble  (This is where I really improvised)
5. Combine 1 cup wheat flour, 1 cup white flour, 1 cup softened butter, almond extract (to taste...start with 1/4 teaspoon). The mixture should be crumbly. I had to add some more flour, then some more butter...keep going till you get the texture you need.

6. Add the pie filling to the prepared crust in the pan.  Place small pieces of butter around the top of the pie.


7. Add the Dutch crumble to the top of the pie.


8. Bake for 10 minutes on 450 degrees. Then, turn down to 350 degrees and bake for an additional 35 minutes (or until top is golden brown).


Enjoy! I hope you all had a happy Thanksgiving!

Monday, November 5, 2012

Quick and easy...Apple chips

I've never been a very big fan of potato chips. I'd much rather have something sweet. But every once in a while, I'll get the urge for a crunch of a chip.

So lately, instead of indulging in points-laden potato chips, I've been making my own chips...out of apples! It's super easy, tasty, and has zero points!


Ingredients
4 apples, cored (I leave the peel on)
1/4 cup sweetener (I prefer Splenda)
1 tbsp. cinnamon

1. Cut the apples into thin slices...as thin as you can get them without shredding them.

2. Arrange the slices on a non-stick baking sheet.

3. Sprinkle with sugar and cinnamon.


4. Bake in the oven at 250 for about 25 minutes, or until crispy and golden.


Makes approximately four servings. Points plus value: 0

Sunday, September 30, 2012

Flank steak with Mexican-cilantro cream


One of my favorite things to do when creating a new culinary experiment is to re-imagine a recipe. This is one of those recipes. I'm sure the original was great, but I tweaked it...add something here, get rid of something there. But overall, this may be one of my new favorite dishes.


Ingredients
16 oz. flank steak
2 peppers (I prefer green), seeded and chopped
1/4 onion, chopped
3 oz. plain, fat-free Greek yogurt
1 cup fresh cilantro
1 tsp. salt
1 tsp. cumin
1 tsp. oregano
1/2 tsp. chili powder (You could double this, but I am not usually a fan of spicy)
Cooking spray

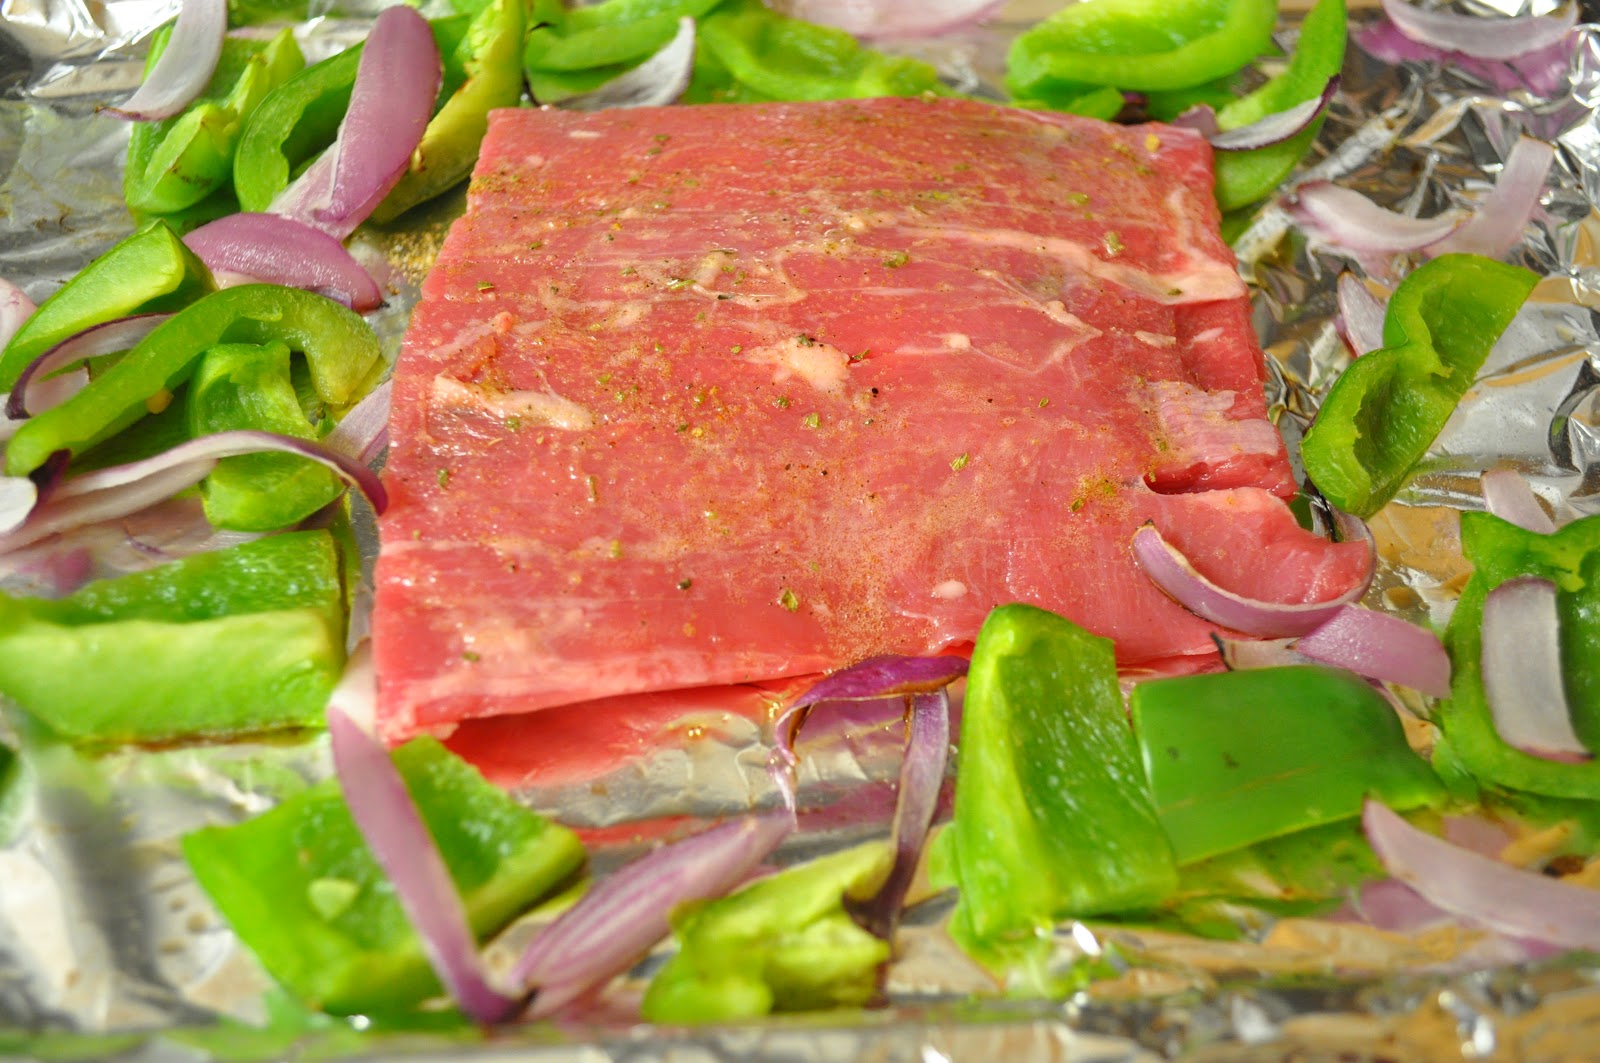
1. In a small bowl, mix salt, cumin, oregano, and chili powder. Sprinkle the seasoning on both sides of the flank steak.  Place the peppers, onions, and steak on a baking sheet lined with foil. (Tip: spray the foil with cooking spray).


2. Broil the steak in a preheated oven, about four minutes on each side. Be sure to flip the steak, peppers, and onions half way through.


3. Meanwhile, combine the salsa, Greek yogurt, and cilantro. Mix in a food processor until smooth and creamy.


4. When steak, peppers, and onions are done, remove from oven. Slice flank steak into thin strips.  Drizzle steak with Mexican-cilantro cream.

The Mexican-cilantro cream sauce was really good, so I drizzled it on top of the peppers, too.
 It's an incredibly flavorful, but really simple recipe. Pair it with some rice as a side, and you have a filling meal! Full disclosure: I like rare meat, so if you want it more well-done, cook it 5 to 6 minutes.

Yields about 4 pieces per serving (4 oz)
Points Plus value: 4 per serving

Sunday, September 23, 2012

Skinny Mashed Potatoes

After joining Weight Watchers, my entire relationship with food changed.  Yes, I still have the cravings and I still want to binge every once in a while. But for the most part, I eat entirely different now. There are more whole grains, vegetables, and fruits. There are leaner proteins, less red meat, and more fish.

I don't know why I used to eat as much as I did, but once I embraced the philosophy that "nothing tastes as good as skinny feels," it became easier to handle.  So now, I may not always eat "skinny" but I try to think "skinny" thoughts. And so, I give you "Skinny" Mashed Potatoes.

First of all, skinny mashed potatoes are not made with potatoes. They are made from cauliflower, which is a pretty good starchy substitute...with zero points on Weight Watchers.  It's not the first time, I've used cauliflower as a substitute for something (see Devilish Eggs). When I'm in the mood for macaroni and cheese, I usually eat some cauliflower and cheese instead.

Second, the first time I made this recipe, I failed. I hate to admit it, but I did. I tried getting away with some short cuts, and I wound up with a watery, lumpy mess.  So, when the recipe says to take time to drain and dry the cauliflower, do it. And when it says to use a food processor to mash it all up, follow those directions, ok?


Ingredients

1 head of cauliflower
1 oz. Weight Watchers creamed cheese
1/4 cup Parmesan cheese, grated
1 garlic clove, minced
Salt and pepper to taste


1. Wash the cauliflower thoroughly. Chop up into florets.


2. In a large pot, boil cauliflower for about 15 to 20 minutes, or until soft and tender. Drain the cauliflower and pat dry with a paper towel.


3. Immediately transfer the cauliflower to a food processor. It should still be warm at this point (try not to let it cool off).  Add cream cheese, Parmesan cheese, minced garlic, and salt and pepper.


4. Puree the ingredients together until it is smooth and creamy.


Enjoy these mashed "potatoes" guilt-free!!  It makes approximately four servings, but it was so delicious that I went back for seconds.

Points Plus value: 2 per serving